
How to Do Cat Eye Nails at Home: Step-by-Step Guide (2027)
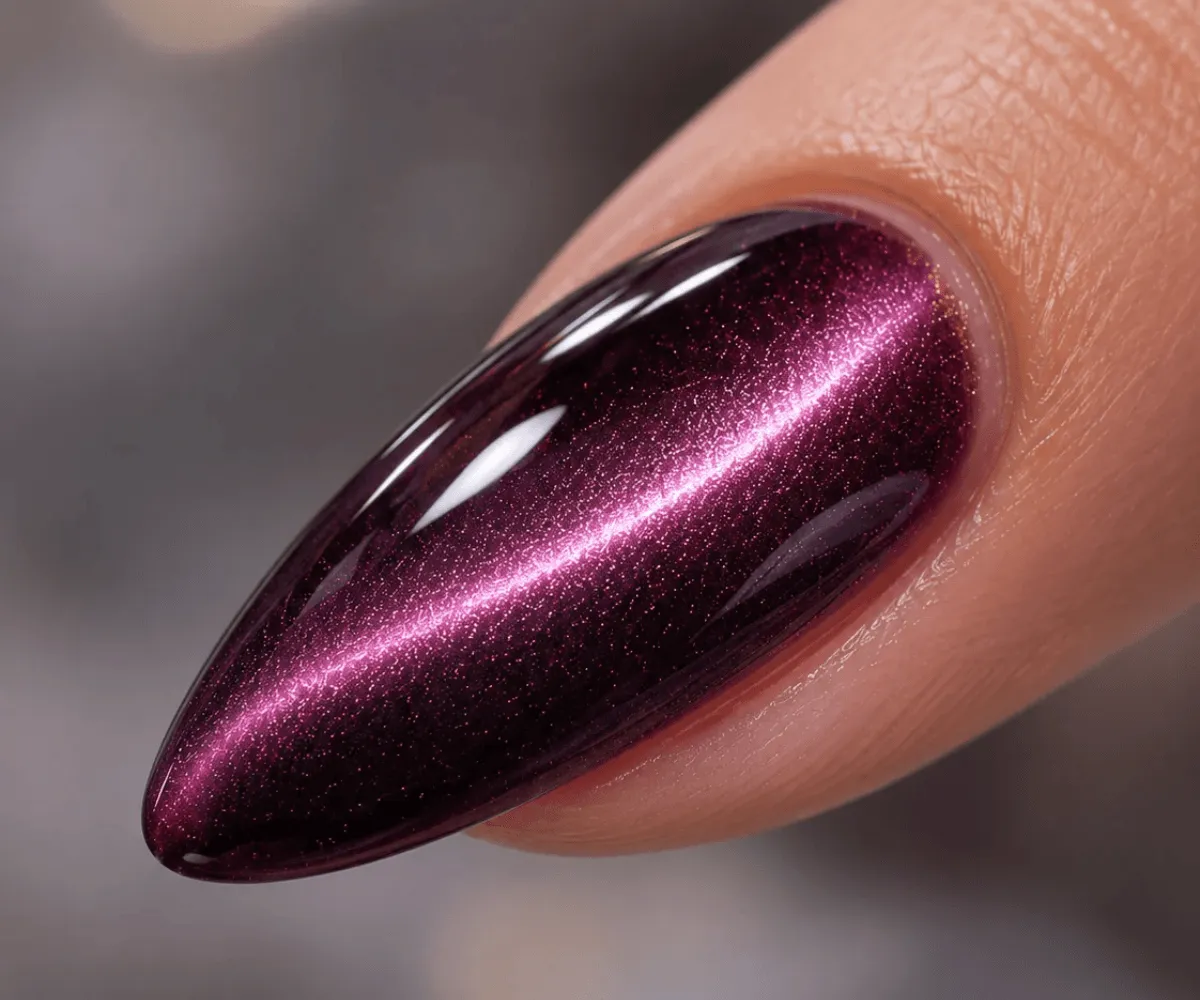
Cat eye nails take magnetic polish, a magnet, and a few steps in the right order. I gives you those steps, shows which magnet makes which effect, and explains why a set can look flat.
This guide is based on what readers report in community discussions.
What You Need
- Nail file and buffer
- Cuticle pusher
- Base coat
- A dark base color (optional, but it makes the effect stronger: black or a deep shade)
- Cat eye polish (gel or regular)
- Top coat
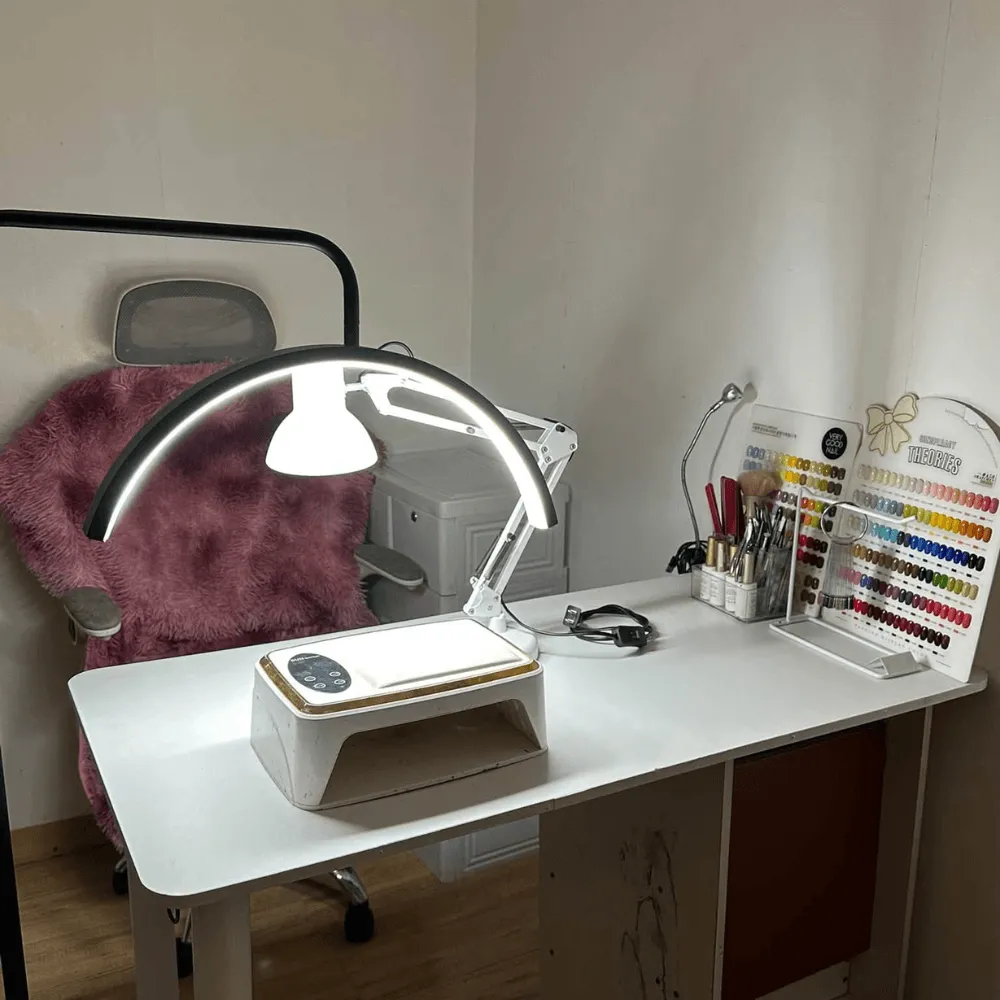
- UV or LED lamp (gel only)
- A magnet (see Magnet Types below)
- Lint-free wipes
- For removal: acetone, cotton pads, and foil or clips
Gel or Regular Polish?
Both work. Gel is easier to control, because you decide when to cure it. The steps below use gel, and the regular polish version is under Cat Eye With Regular Polish further down.
Magnet Types
A magnet pulls the particles into a pattern, so the magnet you pick sets the effect. The steps below use a bar or wand magnet.
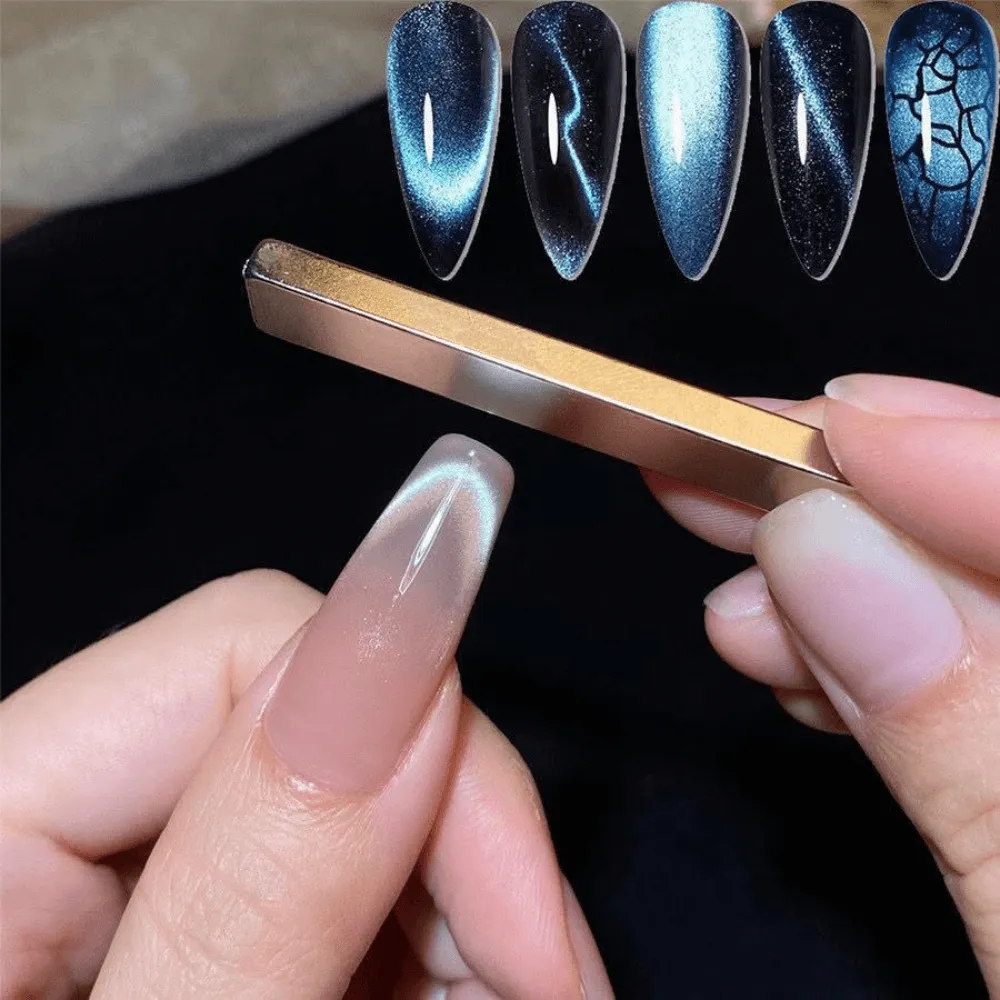
Bar or Wand Magnet (classic line)
Held flat over the nail, it pulls the particles into a single line. This is the magnet to start with.
U-Shaped (Horseshoe) Magnet (velvet)
This one is for the velvet effect, covered under Other Effects below.
Cylindrical Magnet
The round end of a cylindrical magnet, waved along each side of the nail, also makes velvet.
Glass Bead Tool (optional)
A glass bead effect is commonly made by spinning a magnet over the nail, or with a dedicated glass bead tool. You can skip it while you learn the classic line.
Heart-Shaped Magnet (optional, for hearts)
Hearts are commonly made with a heart-shaped magnet. You only need one if you want that design.
Before You Start: Prep the Polish
Shake or roll the bottle well, because readers report the particles settle at the bottom. If your polish gets bubbles, roll it between your hands instead. Warming a thick gel bottle in warm water also helps, readers report.
How to Do a Classic Line Cat Eye, Step by Step
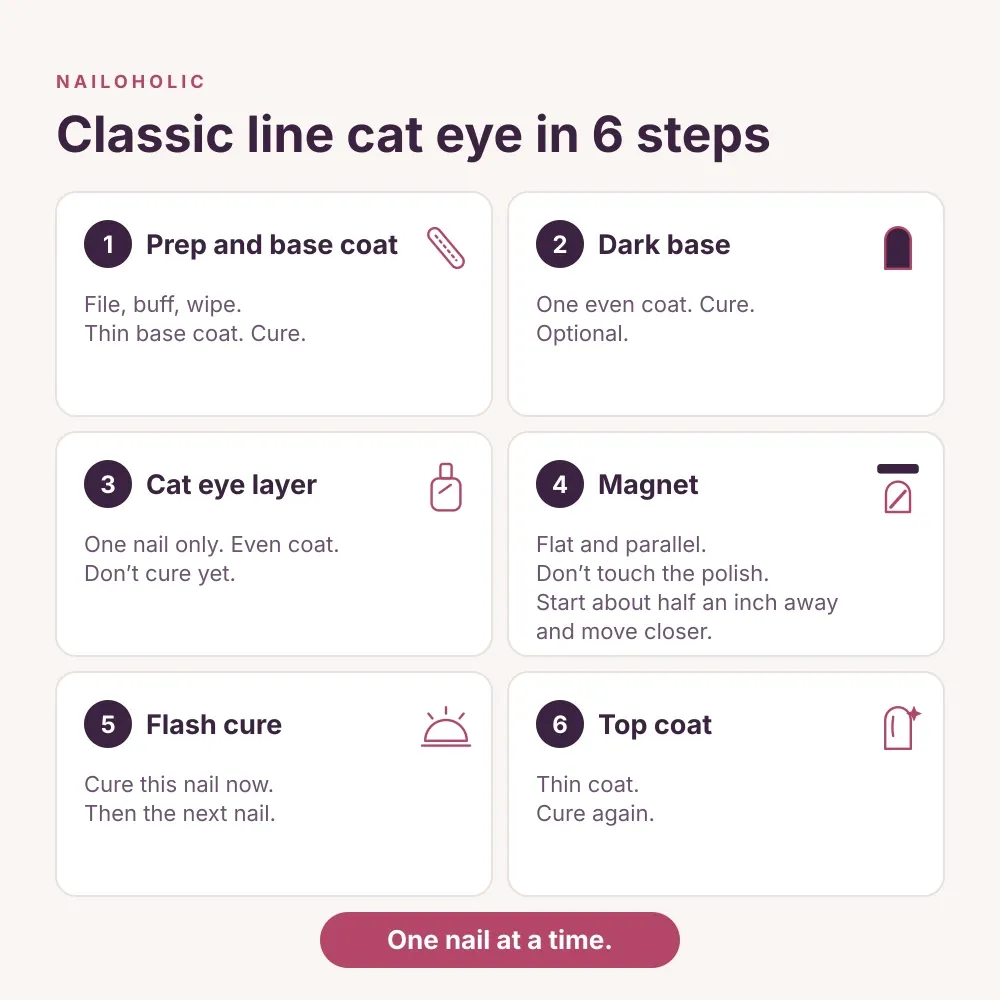
Step 1: Prep and Base Coat
File and buff your nails into shape and push back the cuticles. Wipe each nail clean with a lint-free wipe so no dust or oil is left. Brush on a thin coat of base coat and cure it under the lamp for the time on the bottle.
Step 2: Paint a Dark Base Color
Paint one even coat of black or a deep shade over the base coat and cure it. This color sits under the cat eye layer, and a dark base makes the effect stronger. It isn’t required, and some polishes are made to work without one, so check your bottle.
Step 3: Apply the Cat Eye Layer
Paint the cat eye polish on one nail only, covering it evenly without flooding the skin around it. One thin, even coat. Readers report that a coat that’s too thin gives a weak effect, so if yours looks weak, add a second coat. Don’t cure it yet. Stay on this single nail through Step 5.
Step 4: Hold the Magnet Over the Wet Polish
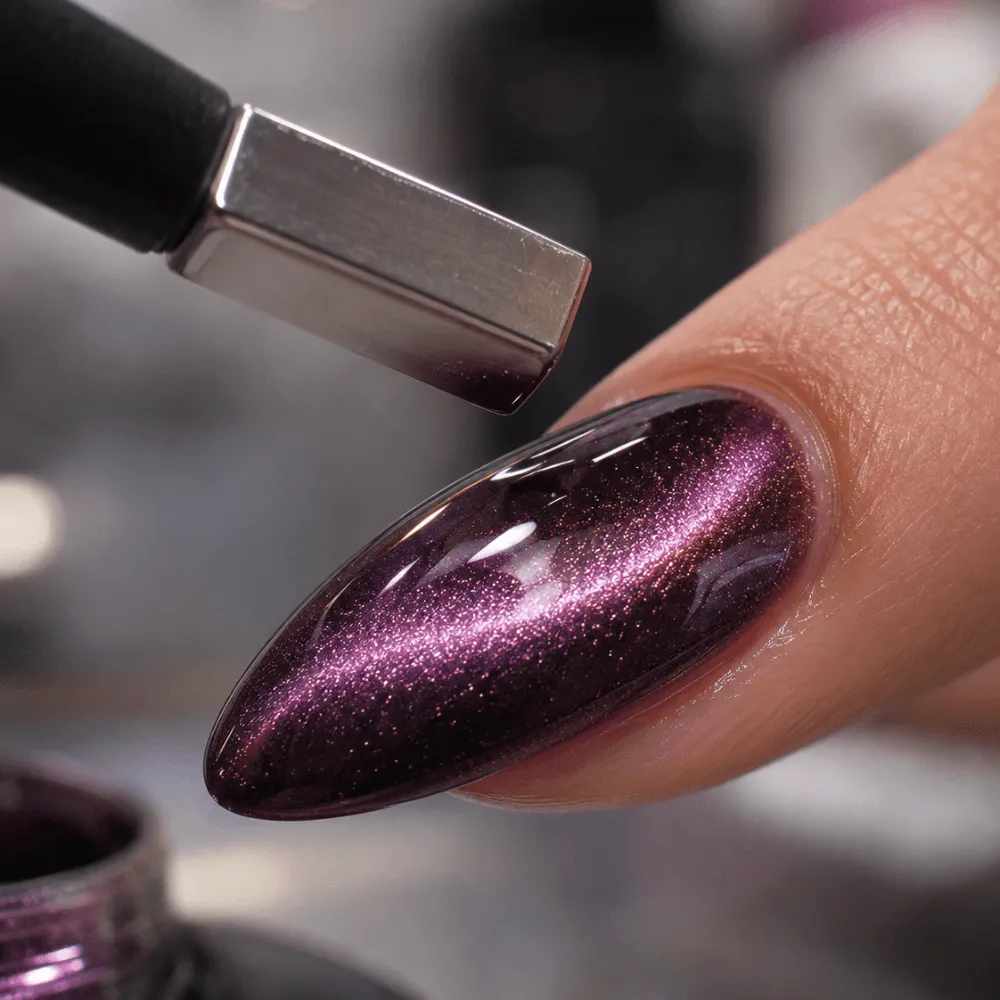
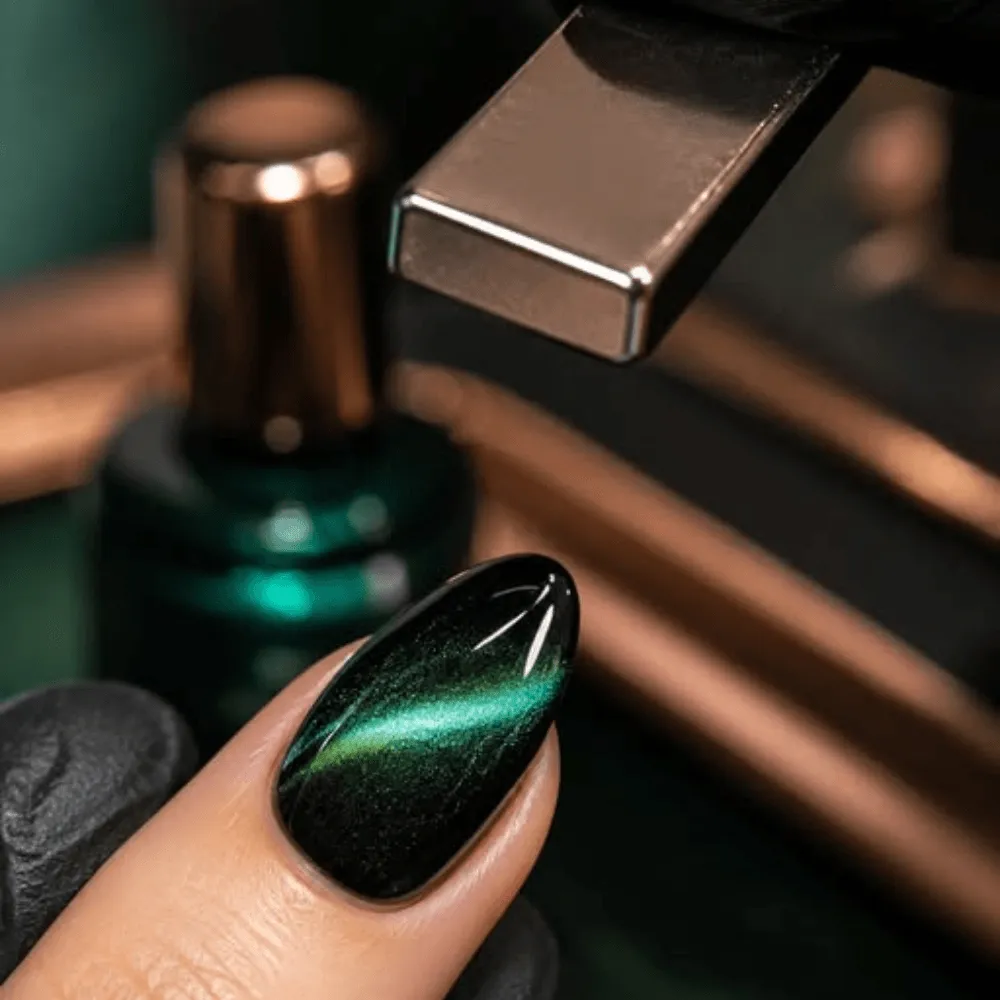
Hold a bar magnet flat and parallel to the nail, just above the polish and without touching it. Start about half an inch away and move closer, often to a few millimeters, until the line forms. Hold the magnet about 2–5 mm above the wet gel polish for 5–10 seconds, or up to 15 seconds for a more defined cat-eye effect. Readers report that holding it too long can pull the particles away, so lift it once the line looks right. Pulling the magnet away quickly near the middle gives a clean diagonal line, readers report. If the line looks off before you cure, brush the wet polish back across the nail and magnetize again.
Step 5: Flash Cure Right Away
Flash cure this nail as soon as the line looks right, before you move to the next one. That locks the pattern in place. Work on one nail at a time, because a magnet near the neighboring fingers can pull their particles. The lamp can also shift the particles a little while curing. Once all five nails on the hand have their line, cure the whole hand fully.
Step 6: Top Coat and Final Cure
Brush a thin coat of top coat over each nail, gently, so you don’t drag the particles. Cure it again under the lamp for the time on the bottle.
Other Effects: Velvet, Glass Bead, French Tip and More
The steps stay the same for every effect, and only the magnet and how you move it change. For what each one looks like, see the cat eye hub. Glass bead, French tip, hearts, halo and hidden design are commonly described methods, so treat them as starting points.
Velvet
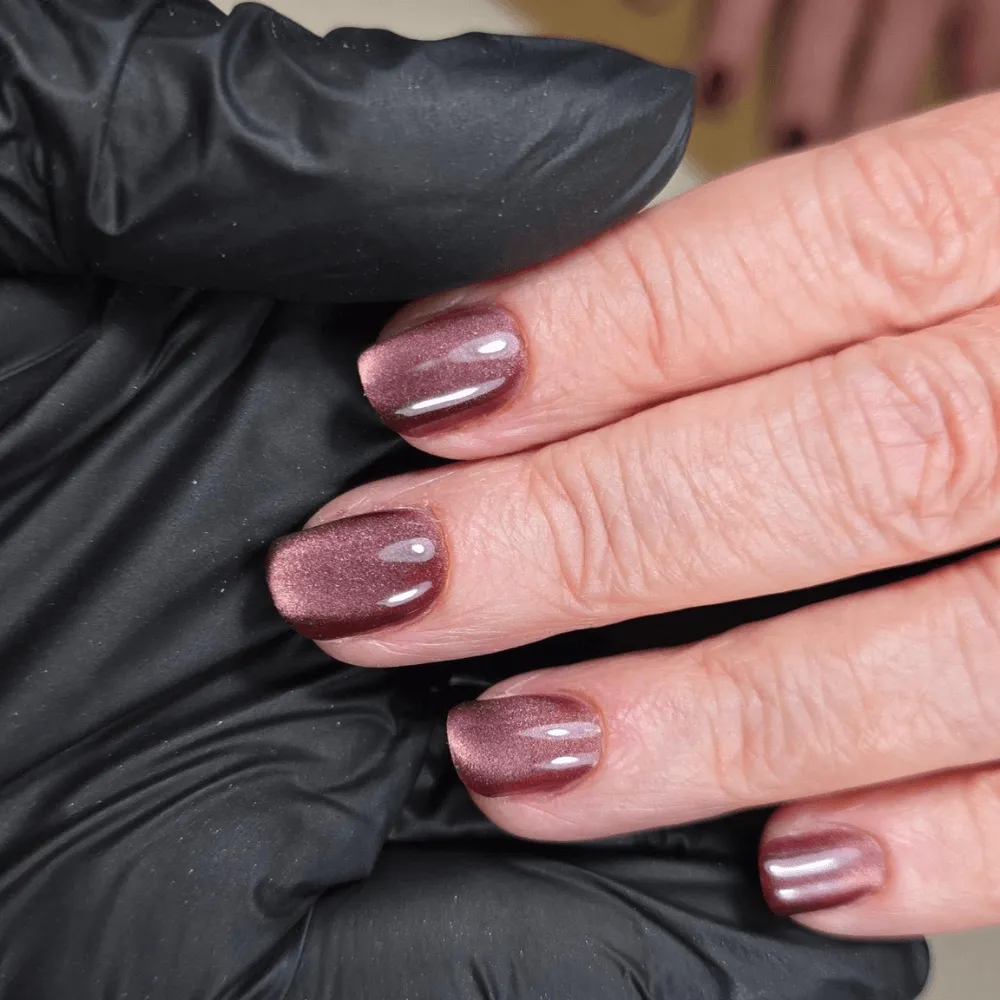
Velvet uses a U-shaped (horseshoe) magnet, or the round end of a cylindrical magnet waved along each side of the nail, readers report. Keep the magnet moving instead of parking it in one spot.
Glass Bead
Glass bead is commonly made with a glass bead tool, or by spinning a magnet over the center of the nail. The tool is optional.
French Tip
For a French tip, paint the cat eye polish on the tip only. Then move the magnet from the base of the nail toward the tip, which pushes the particles toward the free edge.
Hearts and Shapes
Hearts are commonly made with a heart-shaped magnet held over the wet polish.
Halo
A halo is commonly made with a small round magnet held over the center of the nail. The light gathers into a round shape in the center of the nail.
Hidden Design
A hidden design is commonly described as painting the design in a sheer cat eye polish, then magnetizing it, so it shows from one angle only. The sheer coat lets the base color show through.
Why Isn’t My Cat Eye Working?
Most problems come from the magnet, the coat, or the timing. Start with the row that matches what you see.
| Problem | Likely cause | Fix |
| It looks like flat glitter | A weak magnet, or polish that isn’t magnetic | Try a stronger magnet |
| The pattern fades before you cure | Holding the magnet too long, or waiting to cure | Cure right away |
| The line is never sharp | An unsteady magnet or a thin coat | Steady the magnet and use a thicker coat |
| The result is uneven | An uneven coat, or particles pulled out of place | Even coat, one nail at a time |
It Looks Like Flat Glitter
If your nail looks like regular glitter or shimmer, the particles didn’t move. A stronger magnet is the most common fix, readers report. If nothing moves at all, the polish may not be magnetic. Online photos often use very bright light or flash, so the same set can look softer indoors.
The Pattern Fades Before You Cure
If the pattern vanishes or won’t hold, check your timing first. Readers report that holding the magnet too long can pull the particles away, so the nail looks like plain jelly. Lift the magnet as soon as the pattern forms, then flash cure as in Step 5.
The Line Is Never Sharp
The side of a flat magnet often works better than the face, readers report. Resting the magnet on something steady, such as a book, gives a sharper line than holding it by hand. A thicker coat of cat eye polish also helps, because a thin coat gives a weak effect.
The Result Is Uneven
Common causes are an uneven coat, a magnet that wasn’t held parallel to the nail, nearby fingers pulling the particles, and the lamp shifting them while curing. Fix the coat first, then check the magnet angle against Step 4. Work on one nail at a time, and flash cure it right away as described in Step 5.
Cat Eye Without Gel, Without a Magnet or With a Fridge Magnet
Here are three common “what if” cases: regular polish, no magnet, and a magnet you already own.
Cat Eye With Regular Polish
Regular cat eye polish works, and the method is the same: hold the magnet over wet polish. The difference is time. Regular polish dries fast, readers report, so you have less time to move the magnet. Work quickly, one nail at a time.
Cat Eye Without a Magnet
Cat eye polish has magnetic particles, and a magnet is what pulls them into a pattern. Without one, the particles have nothing to move them. If nothing moves even with a magnet, the polish may not be magnetic.
Can You Use a Fridge Magnet or Any Magnet?
Sources don’t test fridge magnets. A magnet retailer says any magnet with enough strength can create the effect, and a beauty guide advises a magnet made for cat eye polish. The practical check is whether it moves the particles. If it doesn’t, a stronger magnet is the most common fix, readers report. Look for strength and a flat edge, and for the steady rest, see The Line Is Never Sharp above.
How to Remove Cat Eye Nails
Here’s the removal order:
- Gently file the shine off the top coat.
- Soak a cotton pad in acetone.
- Wrap each nail with foil, or use clips, so the pad stays on.
- Wait. For regular polish, readers report a minute or two. For gel, follow the label on the product.
- Gently push the softened polish off.
- Don’t peel or pry the polish off.
Frequently Asked Questions
How Long Should You Hold the Magnet?
About 5 to 10 seconds, or max 15. Holding it too long can pull the particles away, so the polish looks like plain jelly. Lift it once the pattern forms, as in Step 4.
Do You Magnetize Every Coat?
If you add a second coat, magnetize again before sealing, and one suggests magnetizing and curing each coat separately. The first pass is covered in Steps 3 and 4.
How Many Coats of Cat Eye Polish?
Start with one thin, even coat and add a second only to deepen the effect. If yours looks weak, add a second coat and magnetize again.
Do You Need a Black Base?
No. A dark base gives the most dramatic effect, but deep plum or navy work too, and a base close to the polish color gives a softer glow. Check the label, because some polishes are made to work without a dark base.